Continuous Integration, huh ?
Simply put CI is running all the tests (against your code, system etc) frequently in order to perform code validation and see everything is integrating well with each other. For Example - If I check in Code then CI runs all the tests to see if the commit did break anything.
Why are we doing this CI stuff anyway ?
To check if something failed on regular basis, so that it is easy to fix it at the earlier stage.
Note - I am a mere mortal and follower of DevOps (much broader term) but have started to appreciate the simplicity all these concepts bring in. Don't mistake me for an expert here ;)
A little background on why I explored using Jenkins as the CI solution, the Project recently I started working on requires me to code in Python/ PowerShell and the team already uses Jenkins for other projects in Python, Java, Ruby etc so we needed to integrate running of Pester tests from Jenkins for our PowerShell codebase.
With all the CI stuff cleared out, time to move on towards the task at hand for this post.
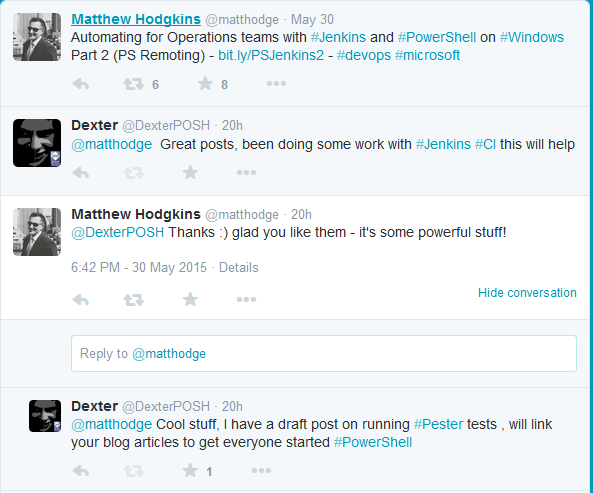
In this post, I have a Jenkins Server installed on an Azure VM. The installation is pretty straightforward and I was drafting a post from scratch on this but then stumbled across a tweet by Matthew Hodgkins and his posts are superb job , Check out Resources Section at the bottom for link to his posts.
Below is the tweet :
So moving on this post will only revolve around integrating Pester with Jenkins-
We need to perform few house keeping steps to make the Pester integration easier for us.
- Install PowerShell Plugin & Nunit Plugin. Click on Manage Jenkins> Manage Plugins > Under Available tab , search 'PowerShell' , 'Nunit' respectively and install them :

- Once done come back to the Home page and click 'New Item' and create a free style project.

- Your new project should appear in the dashboard now, hover over it and click on 'Configure'. Notice that

- For this post I am gonna dump a PS1 file and associated Pester tests in a directory and add a build step which runs Pester tests. One can play and integrate their Version control tools like Git, Subversion etc too with Jenkins. So Let's configure our new Project to use a Folder say E:\PowerShell_Project now. Below is a gif to show that :

-
Now in the same page above scroll down to Build steps and add a simple build action to show you a possible gotcha. Note - We added the PowerShell Plugin to Jenkins to get the option to add build step using PowerShell natively.
Let's add few test PS statments to it like :
$env:UserName
Get-Module Pester
Get-Location
Note - You can use $env:PSModulePath in above code (or normal PS console) snippet to see which all folders PowerShell looks for the Module disocvery.
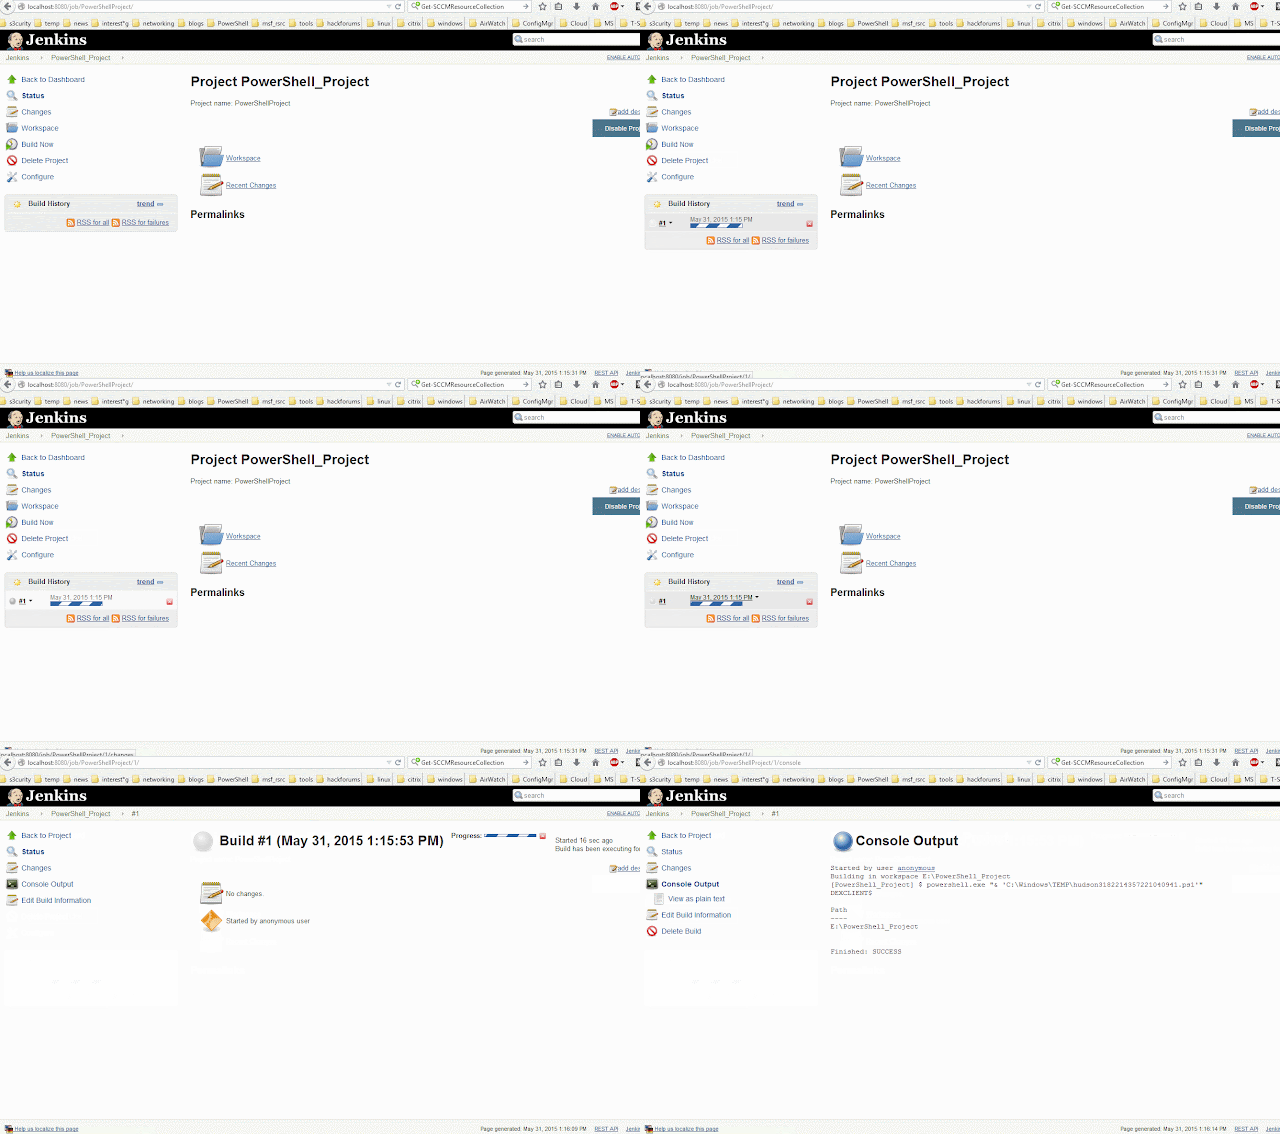
- Click on "Build Now" for the project to see a possible pitfall.

- Below is the console output of the above build run :
Started by user anonymous
Building in workspace E:\PowerShell_Project
[PowerShell_Project] $ powershell.exe "& 'C:\Windows\TEMP\hudson3182214357221040941.ps1'"
DEXCLIENT$

Path
----
E:\PowerShell_Project


Finished: SUCCESS
Few important things to note here are :- When running PowerShell code as part of a build step be informed of which User account is being used. For my case I see it using the System Account (my .machine name is DexClient)
- Based on above check if the Module is discoverable to PowerShell, notice that the Get-Module Pester in the build step return nothing. (Pester was placed in my User's Modules folder).
- If you are using a Custom workspace (step 4) the default location for PowerShell host that runs our code (added in build step) is set to that Folder.
- Check out how Jenkins runs the PowerShell code specified in the build step.
powershell.exe
- Now one can definitely configure Jenkins to handle this in a better way but that would make my post lengthy. Quick fix here is to load the Pester Module explicitly with full path. For example : Import-Module 'Import-Module 'C:\Users\dexterposh\WindowsPowerShell\Modules\Pester\pester.psd1'
- Once you have taken care of how to load the Module, you can add another build step for modify the existing one to run Pester tests. I modified the existing build step to look like below :Import-Module 'C:\Users\dexterposh\WindowsPowerShell\Modules\Pester\pester.psd1'
Invoke-Pester -EnableExit -OutputFile PSTestresults.xml -OutputFormat NUnitXml
Take a note of the parameters used here -OutputFile , -OutputFormat and -EnableExit switch.
Pester is really awesome as it supports integrating with almost all CI Solutions out there.
Read more here - As a last step , We will be adding a post-build step to consume our PSTestresults.xml by the Nunit Module. Below is the last gist showing the test run :

Resources :
Matthew Hodgkins - Post on installing Jenkins and Automation using PowerShellhttps://www.hodgkins.net.au/powershell/automating-with-jenkins-and-powershell-on-windows-part-1/
https://github.com/pester/Pester#continuous-integration-with-pester https://wiki.jenkins-ci.org/display/JENKINS/Installing+Jenkins

